Section 3: Clients
The client section provides information about the clients you work with. Here is a general breakdown of what a client overview might include:
Step 1: Navigate to Client
Section
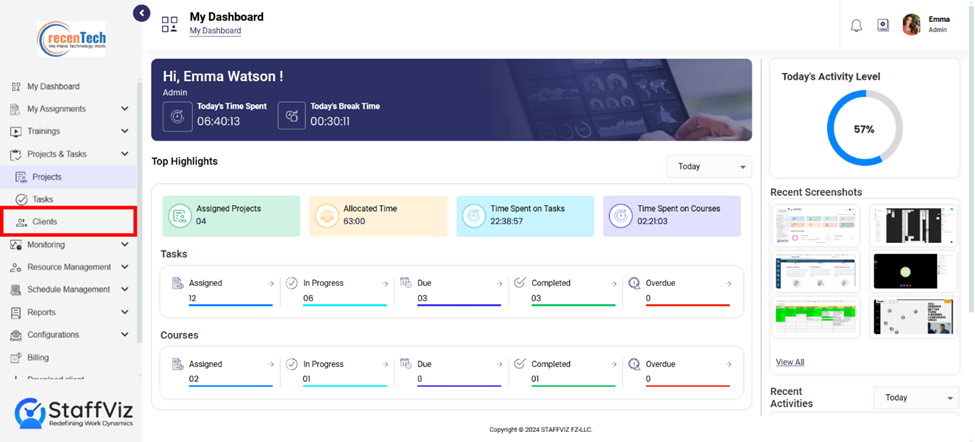
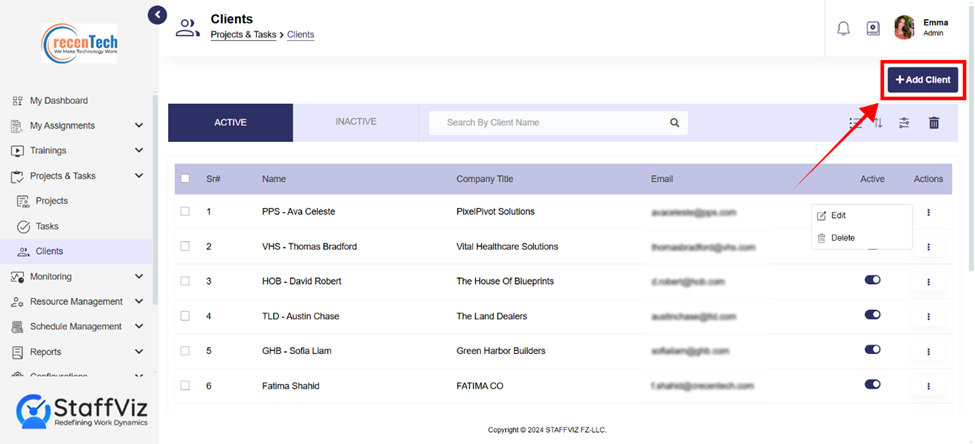
Select Project & Tasks > Clients from the main navigation menu.
Click Add client.
Step 3: Fill Out Client Form
1.
Name: Enter the full name of the client
contact person.
2.
Company Title: Indicate the client's
company name and the title of the contact person (if applicable).
3.
Email: Enter the client's valid email
address. The system might automatically format the field to ensure proper email
address structure.
4. Status: The dropdown option allows users to select whether the client is active or inactive.
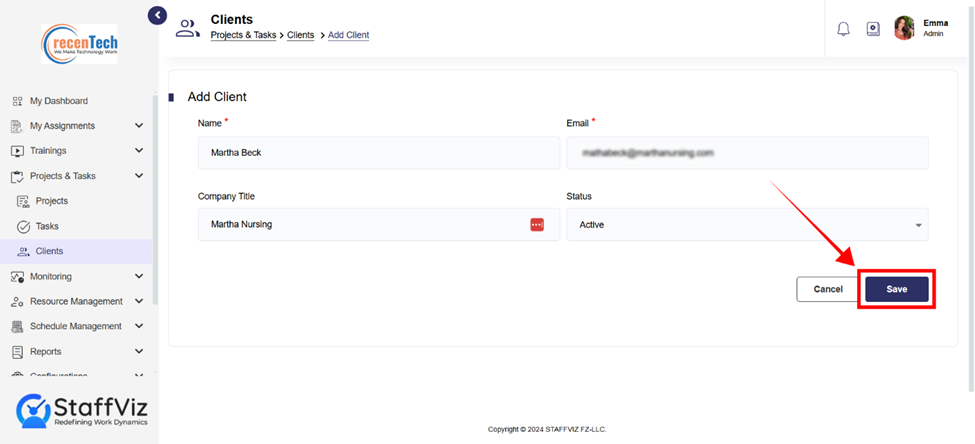
Step 4: Save
Client
The Save
Button in the "Add Client" form is used to save the information
you’ve entered for the client. When clicked, it stores the client’s details.
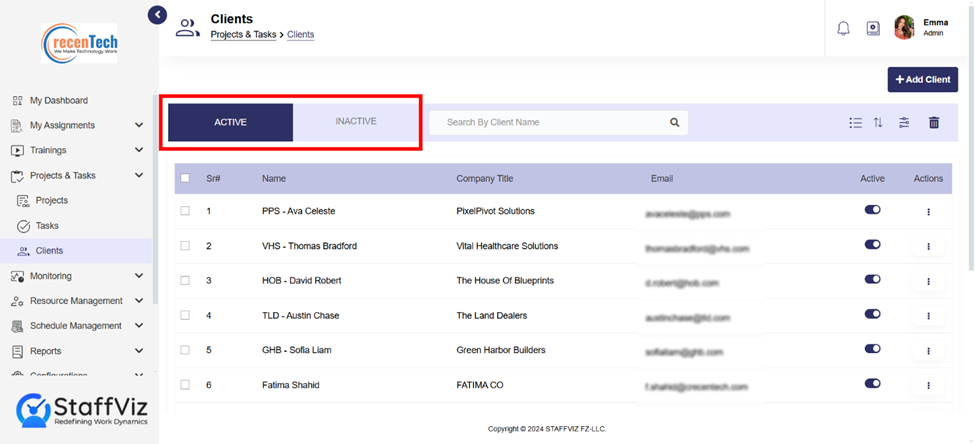
Section 3.1: Navigation Tab
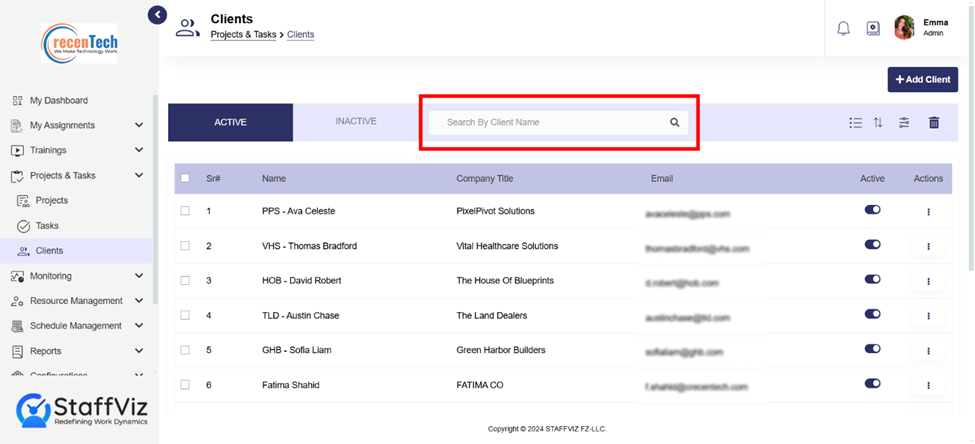
The navigation tab has all the options you need to find,
categorize, refine or sort data. The data will be active
The Active and Inactive tabs are at the top of your clients’ list. These tabs help you to view only active/inactive clients.
Locate clients instantly by name or keyword, saving time
compared to browsing through long lists.
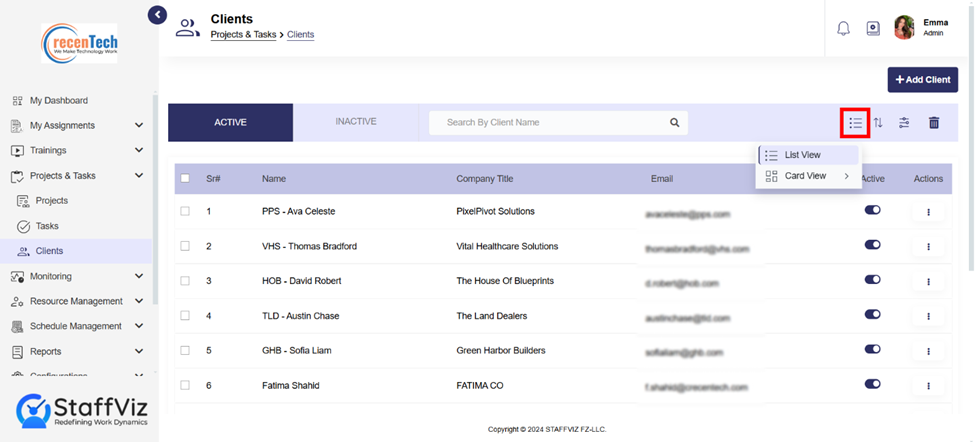
List views and card views are both methods for displaying
information in a mobile app or on a website, they offer different visual
presentations. The details of lists and card view of clients is discussed in Section 3.2.
·
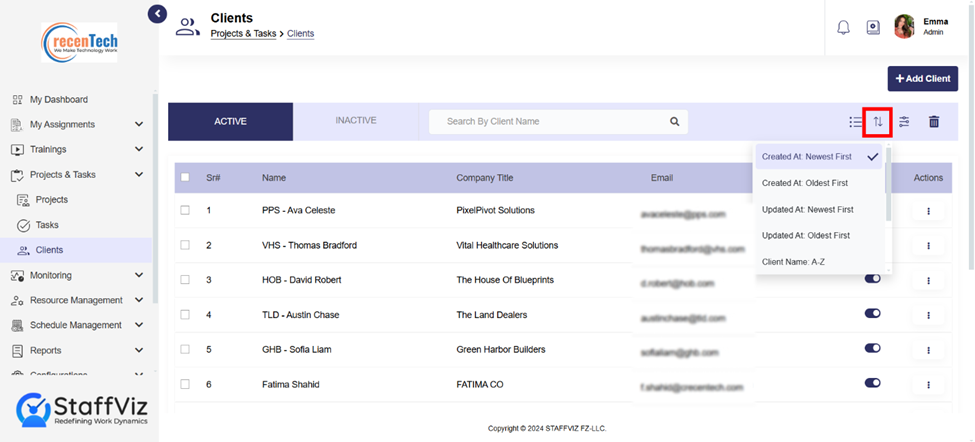
Created At: Sort clients by the date and
time they were initially created.
·
Updated At: Sorts clients by the date and
time they were last modified.
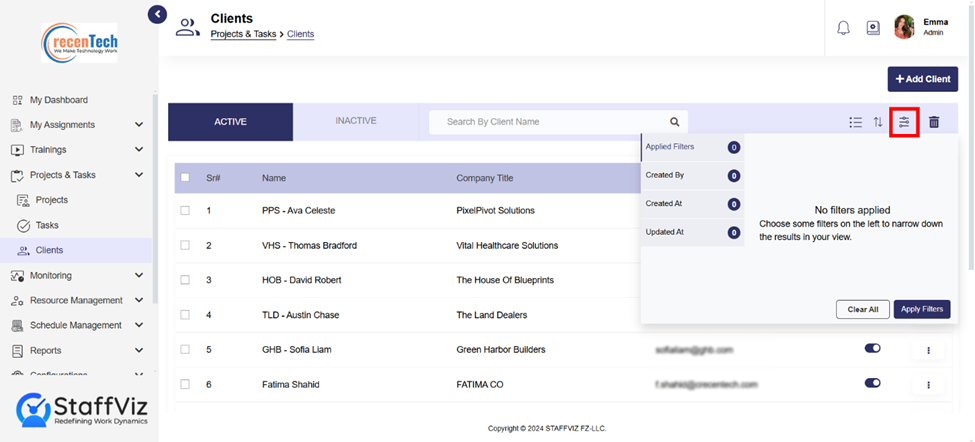
The filter panel on the left-hand side of the screen allows
you to narrow down the list of clients displayed on the main screen according
to various criteria. This helps you quickly find the specific clients you are
looking for.
Section 3.2: Lists and Card
View
Both list and card view offer the same data but in the
different view, here’s we are going to share the details for both sections.
Section 3.2.1 Clients Detail Table (List View)
The Client Detail Table provides an organized view of all the information related to each client. Here’s an overview of its components:
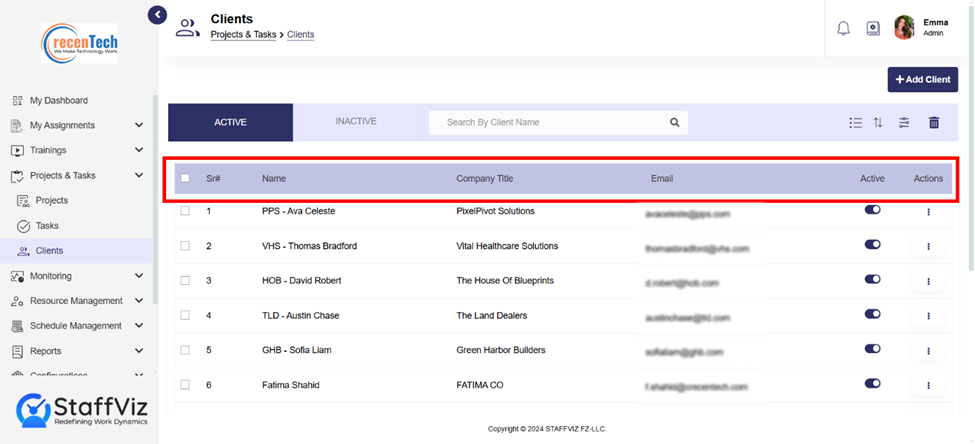
1.
Sr# (Serial Number): A unique identifier for each client, helping track and order clients
in the table.
2.
Name: The contact
person's full name for each client, used for easy identification.
3.
Company Title: The client’s company name and the title of the contact person (e.g.,
CEO or Manager).
4.
Email: The client’s
email address, used for communication purposes.
5.
Active: Indicates
whether the client is currently active or inactive, helping to filter clients
based on their status. Once a client is associated with a project, its status
can’t be changed to inactive.
6.
Actions: Provides
options to manage the client, such as editing or deleting the record. In the
action options, you can edit a client. Read Section 3.3 (Update the Client Record) for detailed information.
Section 3.2.2: Clients in Card View
When you choose the client view from the top navigation bar, it extends to two further options.
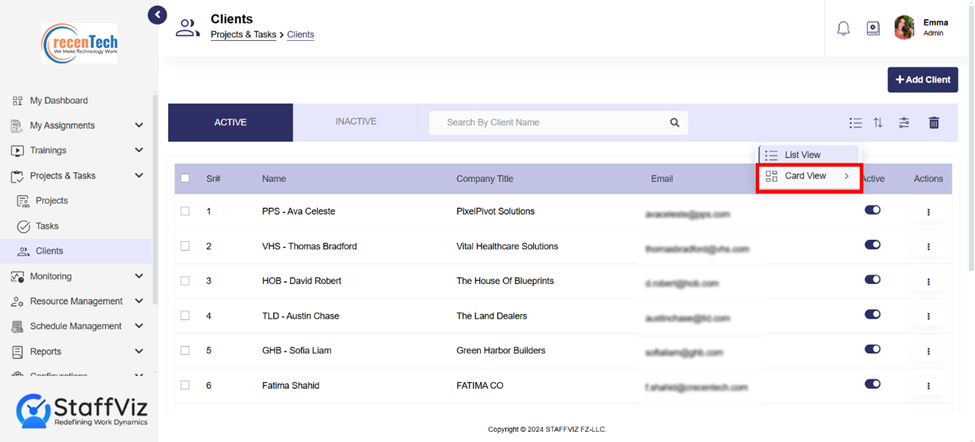
·
Large Cards
·
Small Cards
Selecting the card option will showcase all the client's data in a card view.
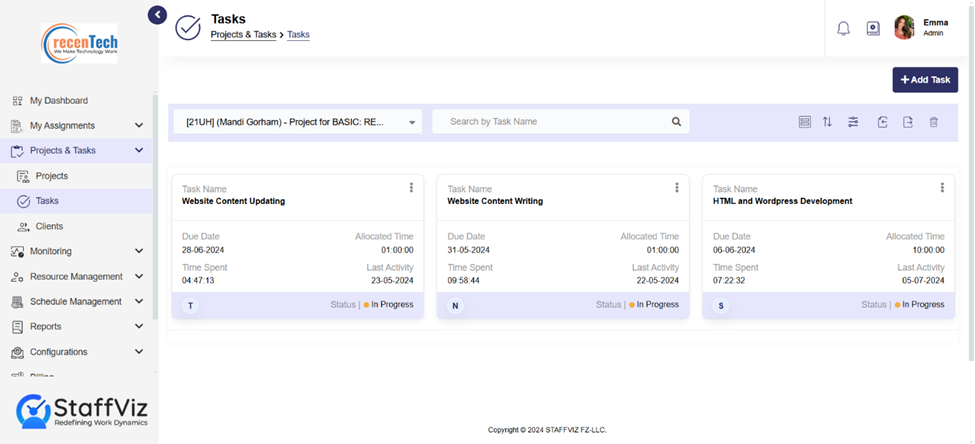
All the options that a card view offers are already
explained in the list view.
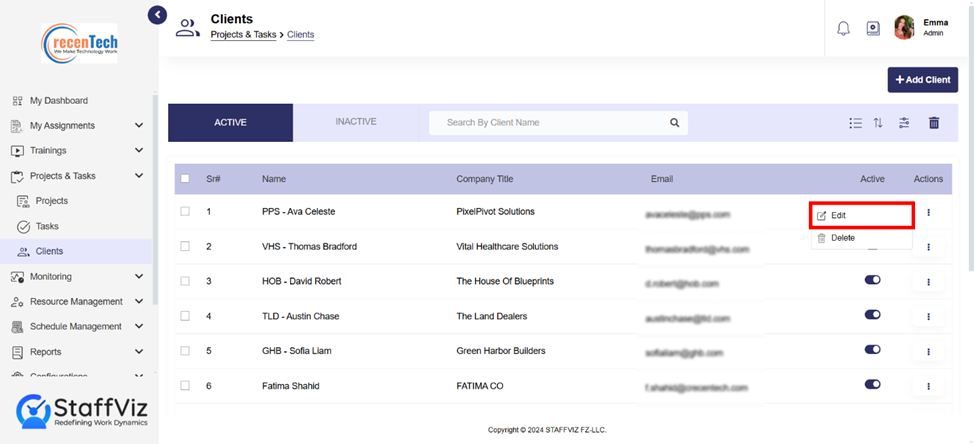
Section 3.3: Update the Client
Record
Step 1: Click Edit
Click Edit to go to the update client information.
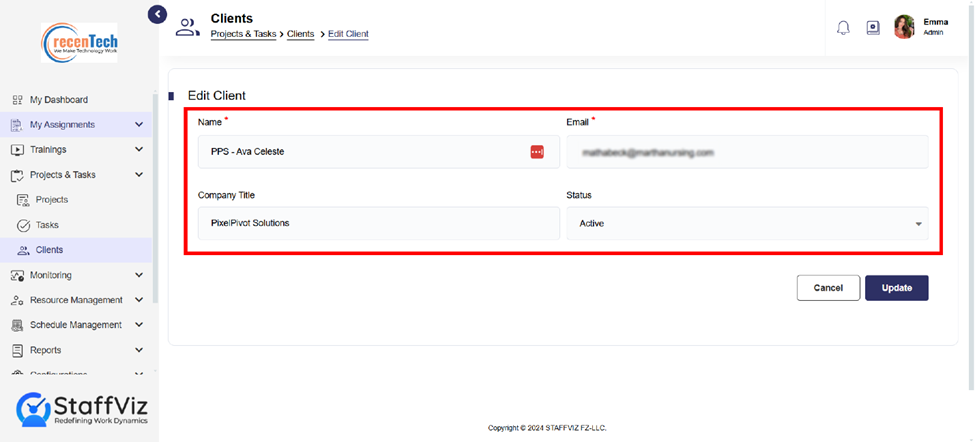
Step 2: Update Client Form
The Updating Client Form allows you to edit the existing
details of a client. Here's a breakdown of the form fields that can be updated:
1.
Name: Update the client's contact
person's full name if it changes or if there was an error in the original
entry.
2.
Email: Modify the client's email
address if it's incorrect or if it needs to be updated.
3.
Company Title: Change the name of the
client's company or the contact person's title if there’s any update.
4. Status: Update the client’s status (e.g., "Active," or "Inactive") based on the client’s current situation. Once the client is assigned to a project, the status cannot be changed to inactive.
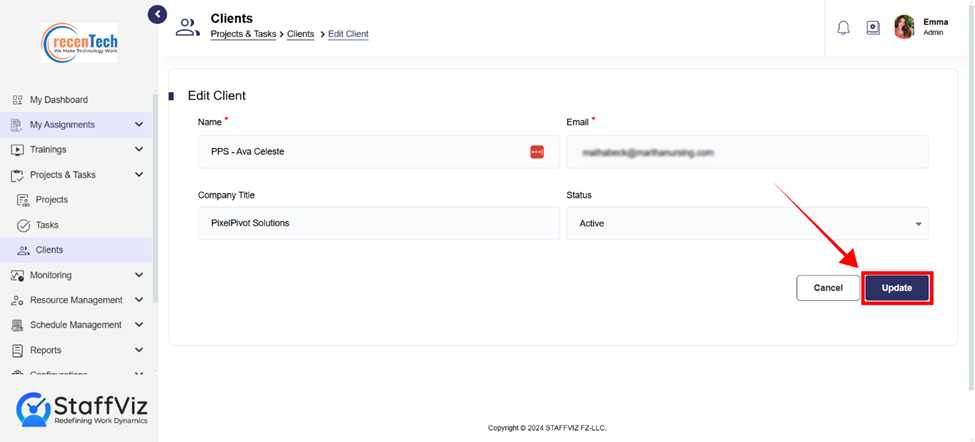
Step 3: Click Update
Clicking the update button will save the latest client information.
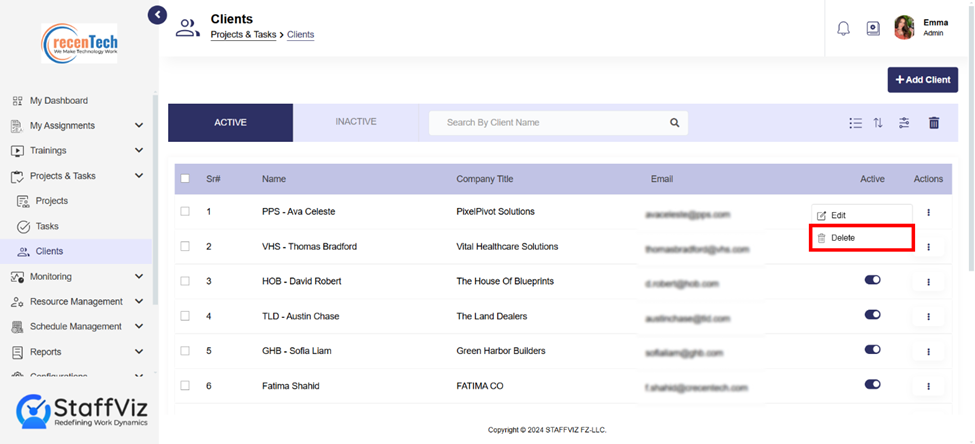
Section 3.4: Delete Client
The Delete Client action allows you to remove a client's details from the system. Once the client’s project is assigned, you cannot delete it.
That’s all about the Projects & Tasks Section. Hopefully
you’ll find every piece of information about this section here.
For any further assistance, you can contact us at support@staffviz.com .